


Over the last eight years in our home we’ve added a variety of trim profiles and wall treatments, with v groove being our most recent, as possibly my favorite!
As our laundry room renovation is fully underway, I’m sharing all the details on our newly installed v groove boards, including what we’ve done so far, and what we still have left to do.

LAUNDRY ROOM UPDATES
- Removed the dated, builder linoleum floor
- Installed checkered peel and stick floor tiles
- Upgraded the washer and dryer
- Lowered the washer and dryer hookups
- Installed custom baseboards
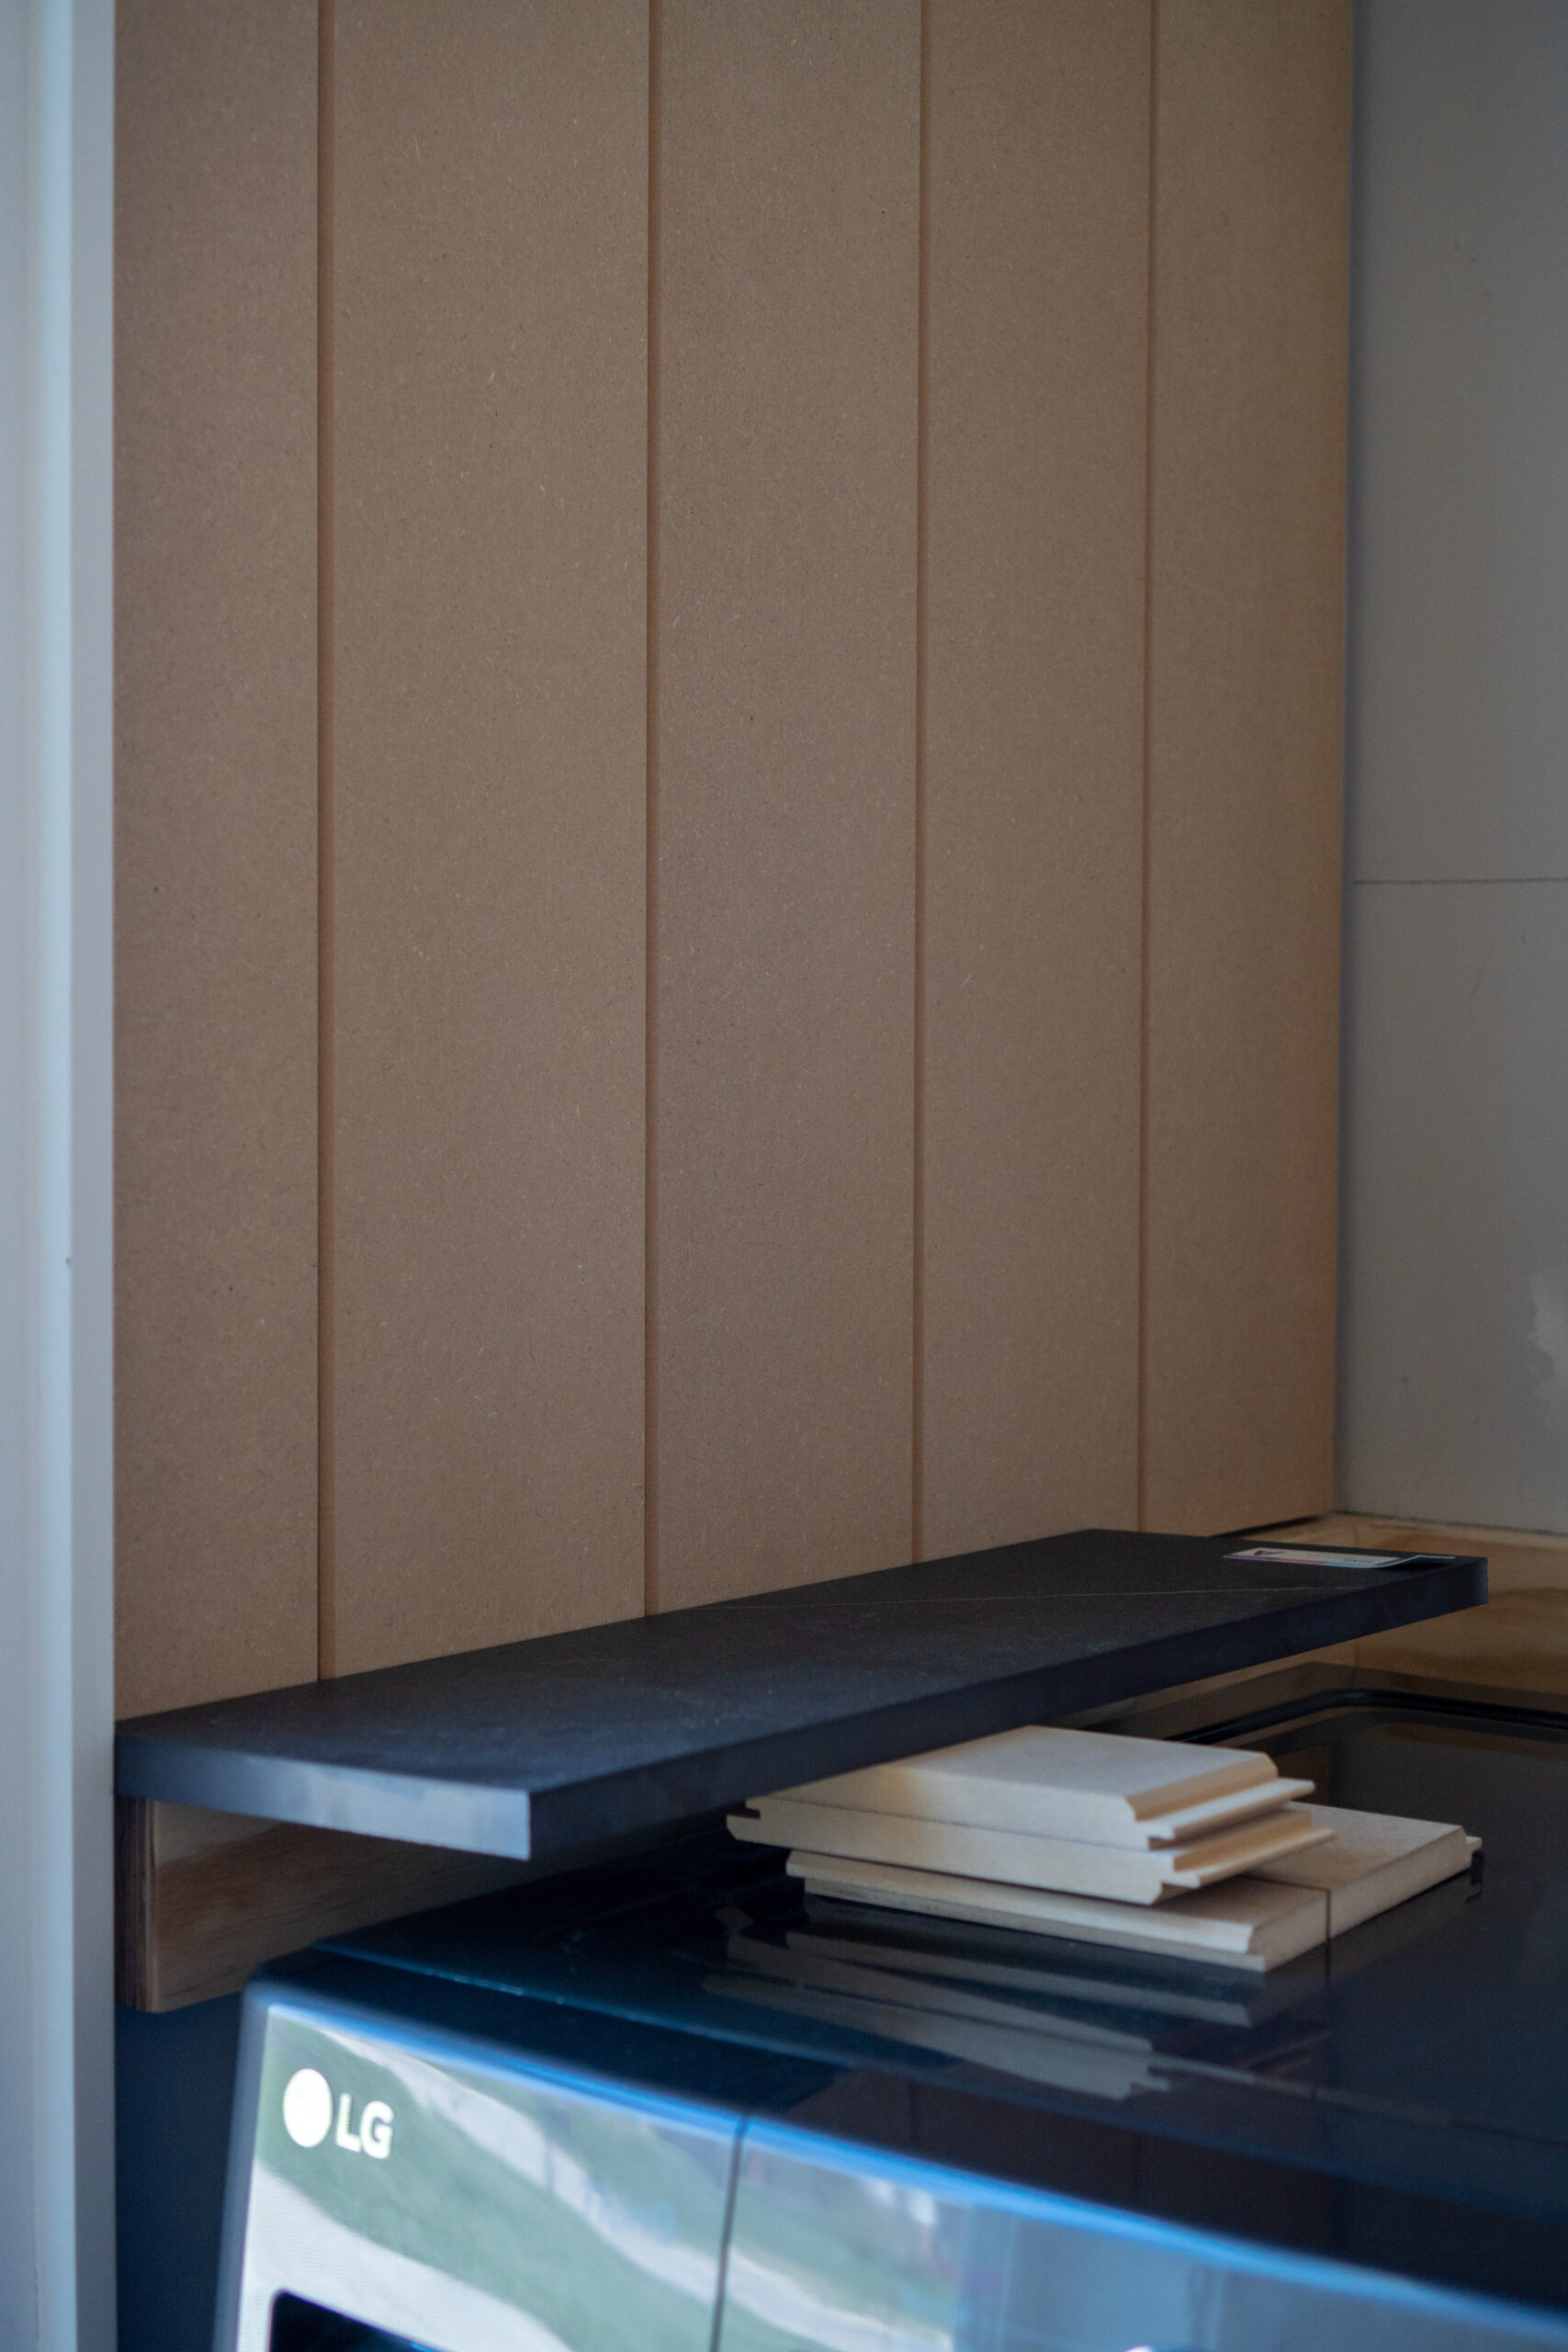
- Decided on countertops (coming soon)
- Built the W+D surround/support for the countertop (see below)
- 80% finished installing the v groove boards (see below)
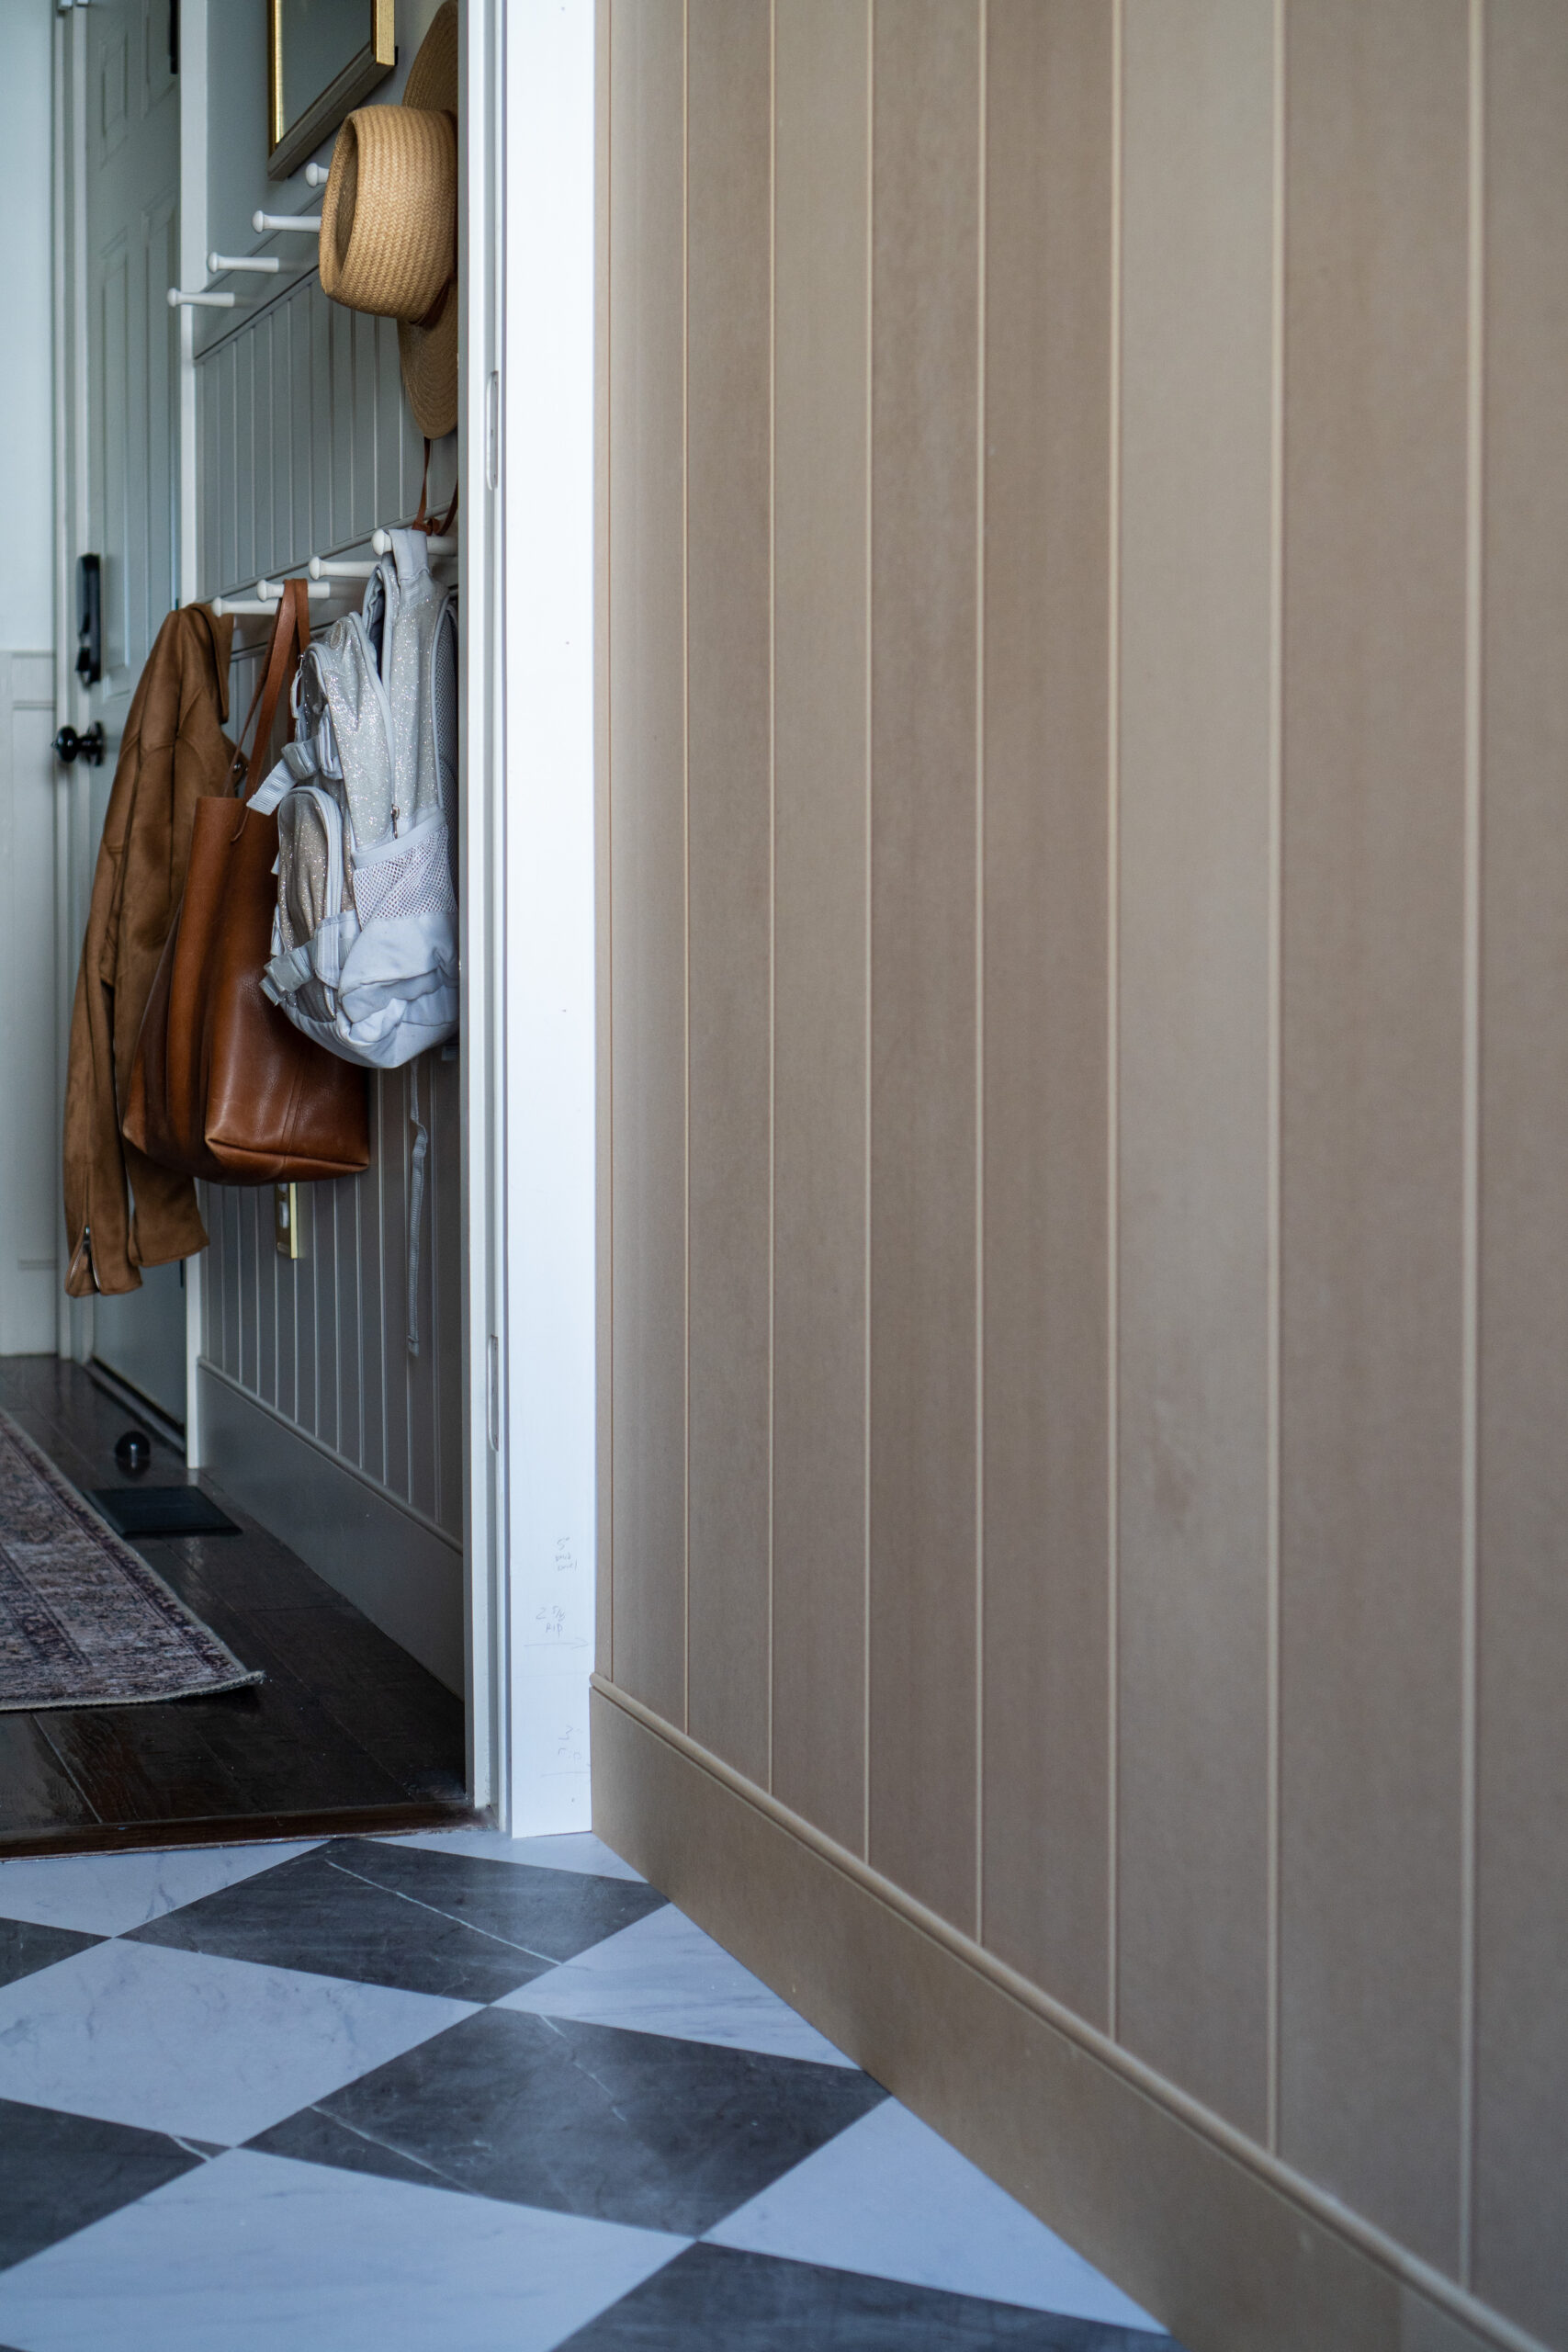
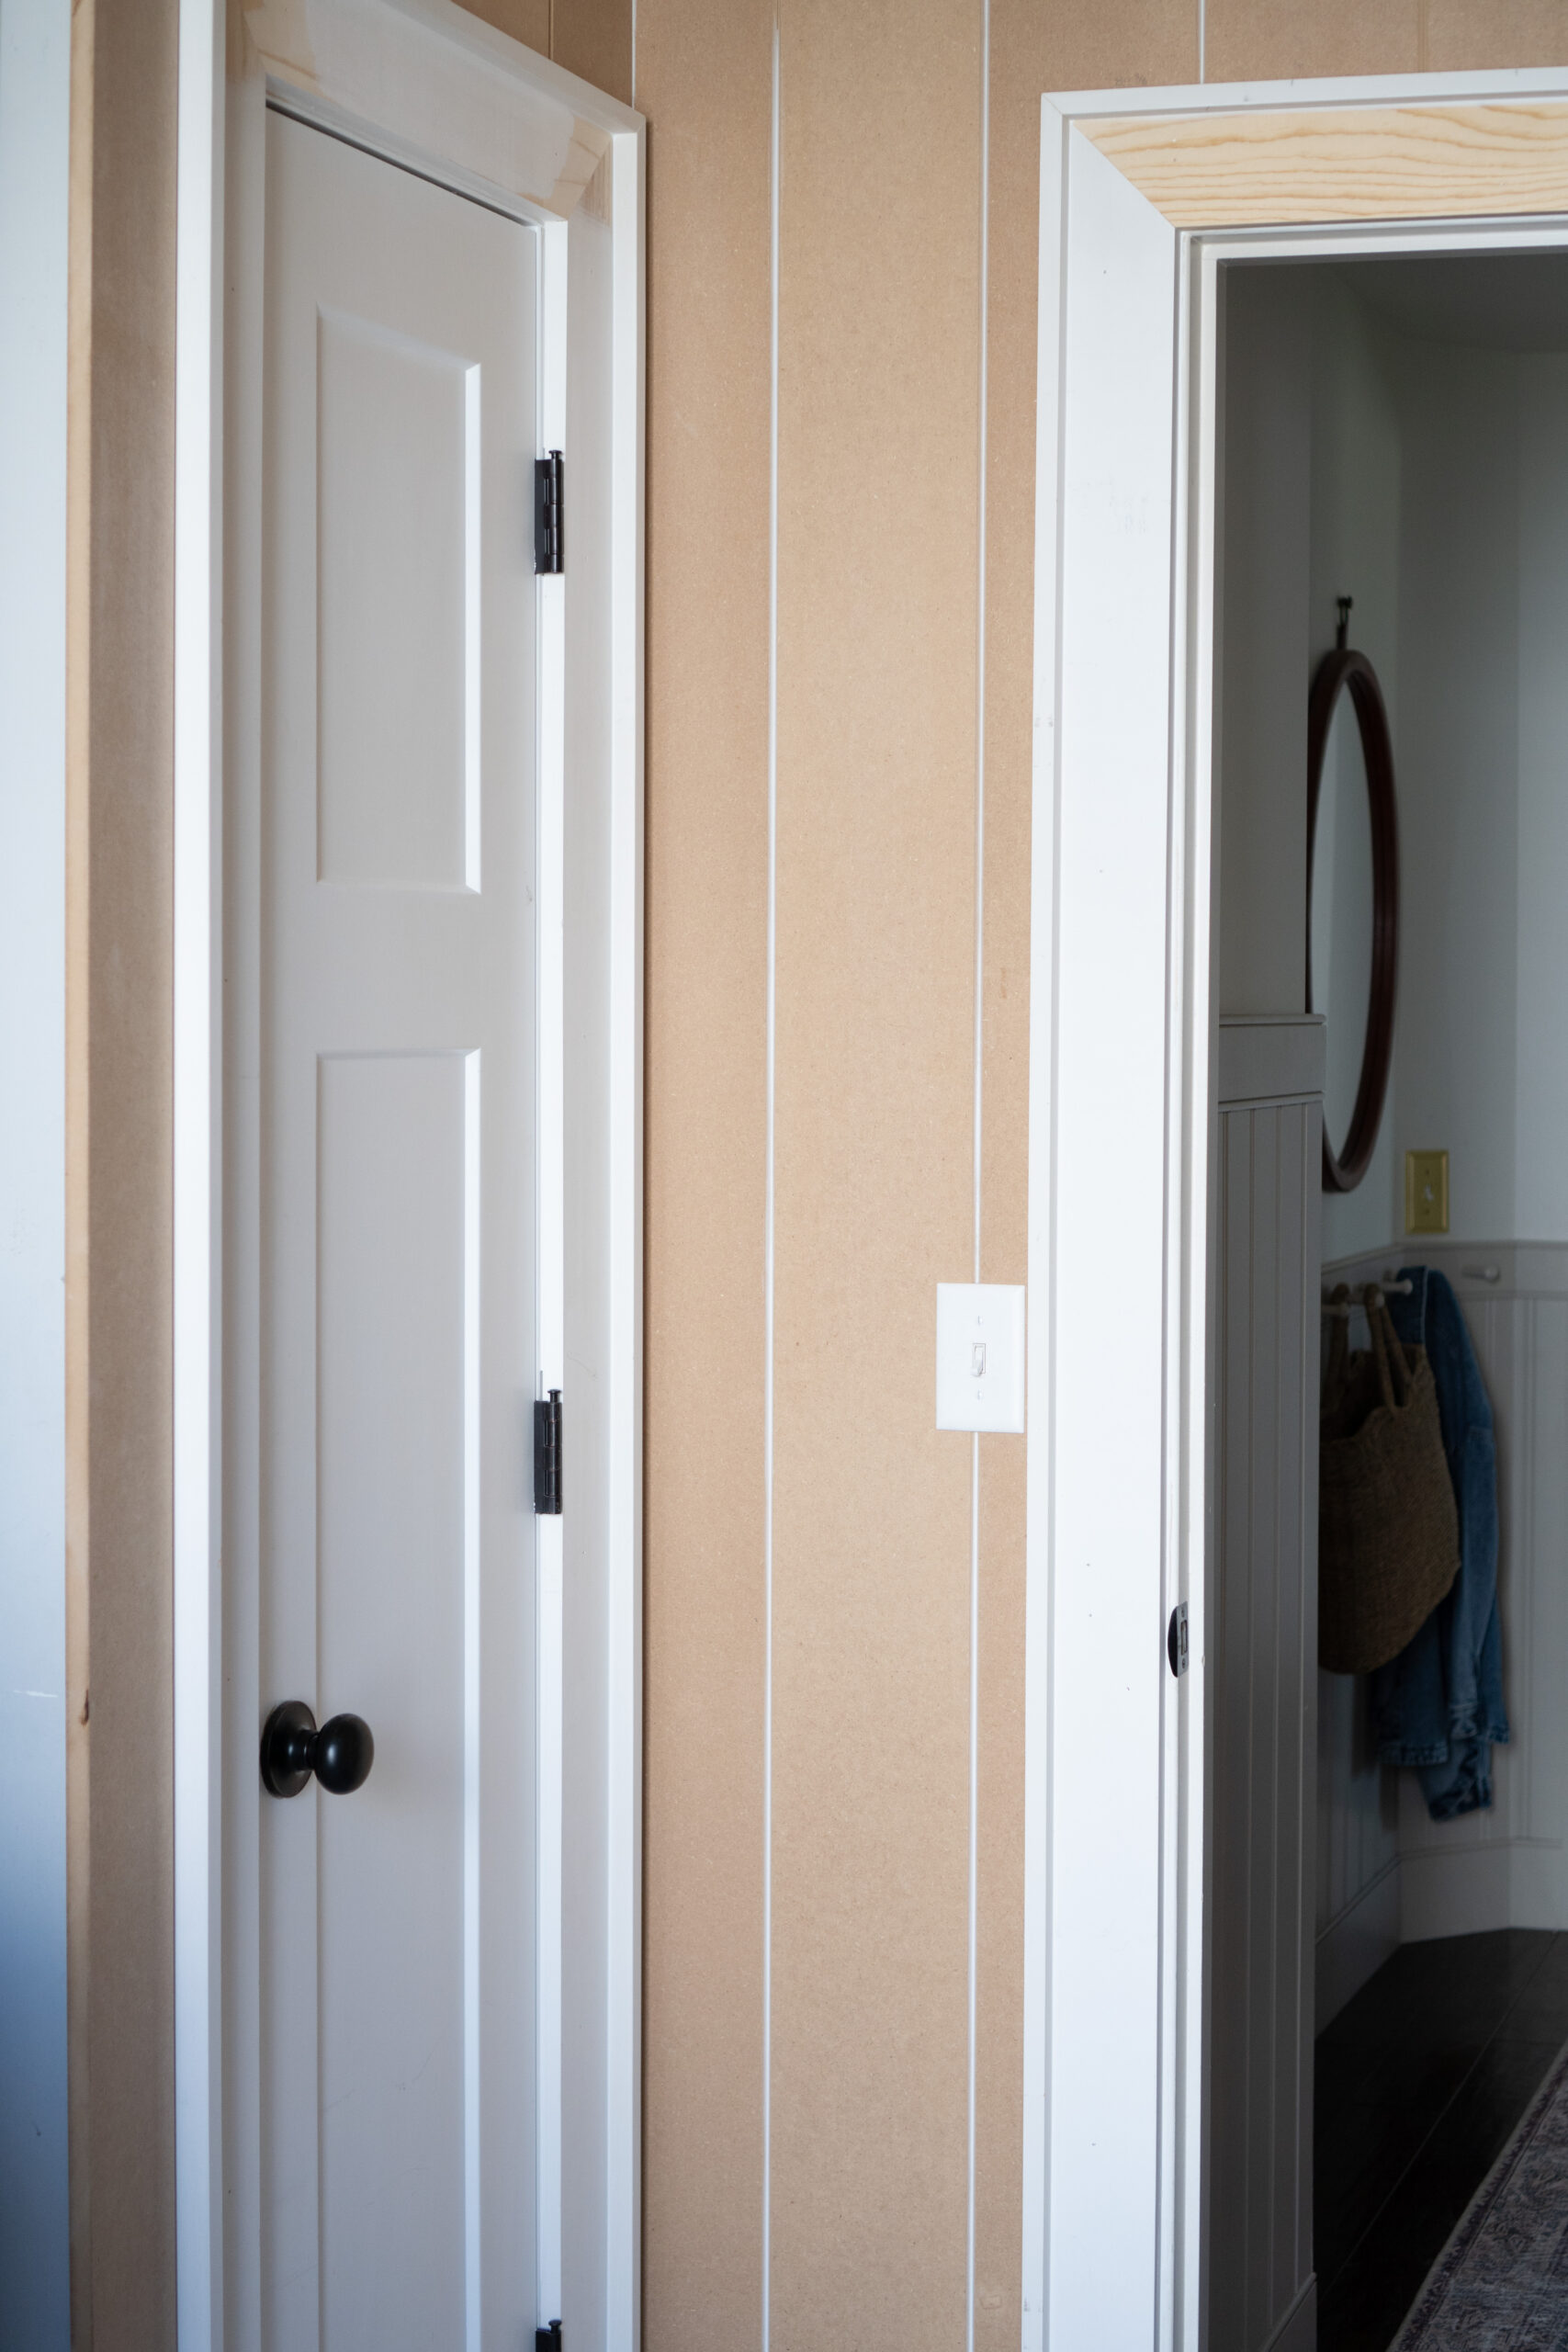
While our laundry room is fairly narrow, it does have a 9ft ceiling, making it feel bigger than it is. There’s plumbing for a sink, a decent sized storage closet, and a large window.
It sits right past our “mud hallway,” separated by a solid door that we almost never close. In an effort to let the light shine through, and be able to see our beautifully renovated laundry space, we plan to replace it with a glass grid door, instead.
V GROOVE
As I was searching for wider v groove boards, I came across this small, family owned business called, American Beadboard. They are based out of Connecticut, and offer a variety of customizable products from ship lap, v groove, top cap molding, baseboards, corner molding and more.
Unlike the thin shiplap panels we used in our recent window seat project, these v groove boards are much higher quality. We went with their moisture resistant MDF v groove boards, which are 5/8″ thick x 7″ wide and available in 80″ and 94″ lengths. For ceiling projects, you can special order up to 108″ length boards. We especially like that they use a tongue and groove (T&G) joint, which allows the nail heads to be hidden within the groove for a clean finish.

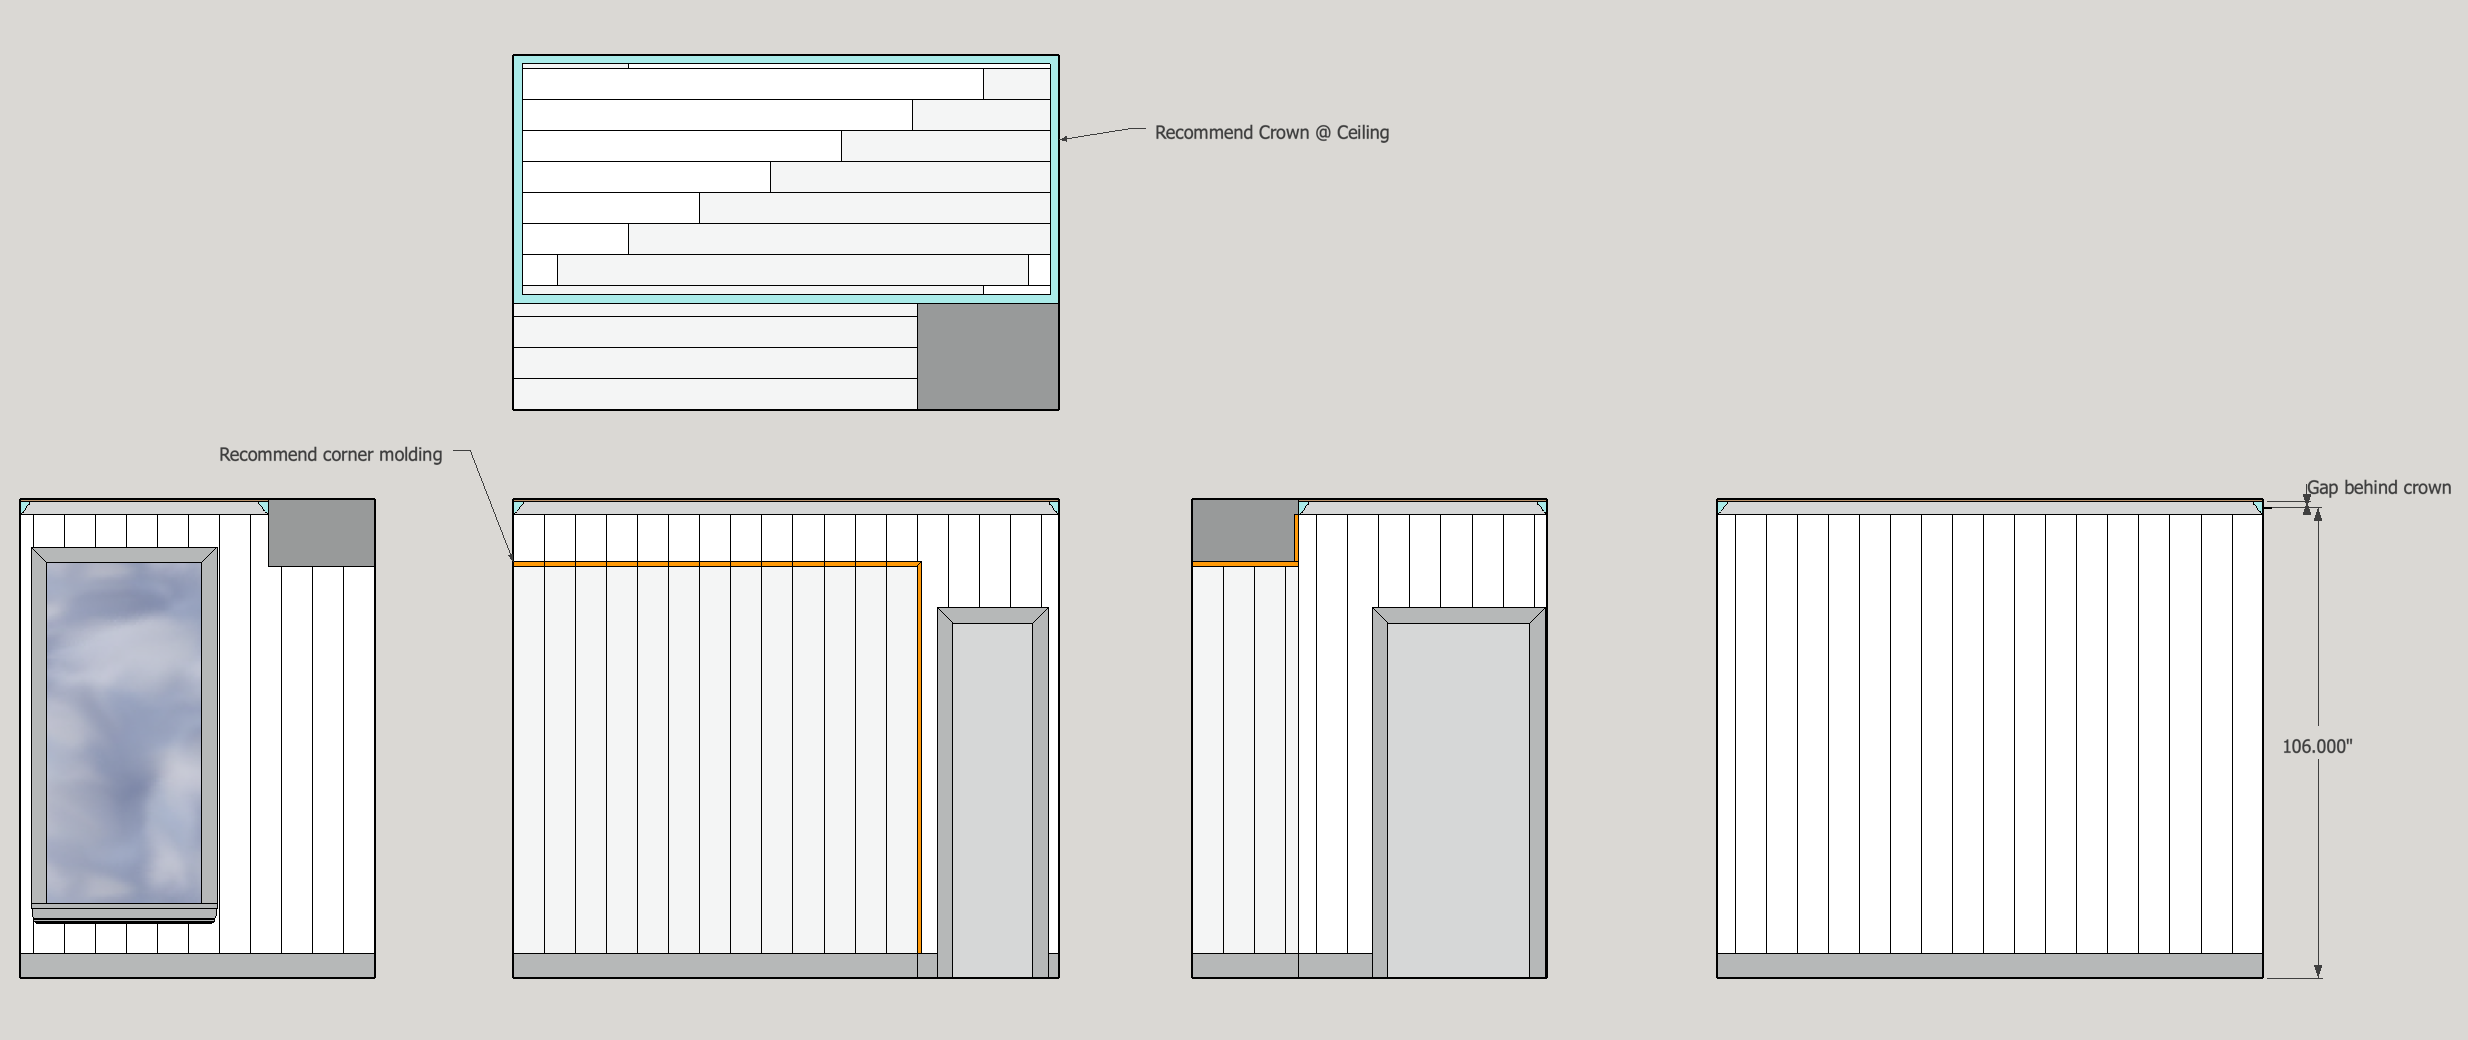
When it came time to order, I worked with the owner, Bob, who was kind, knowledgable, and very helpful. I sent a quick sketch of our laundry space (above), then he created a helpful rendering to visually confirm our plan (below). Once everything was decided and ordered, our materials arrived within a week! Bob made the ordering process feel easy and effortless.
I was so excited to learn we could order a custom board size, and expressed how difficult it’s been to find this style, quality, and width at your common big box stores. Because of this, Bob kindly offered an exclusive discount for my community! Use code: Mrsjessicadarling for a discount (excludes samples) on your order!
We are so grateful to have partnered with American Beadboard for our laundry room renovation, and can’t wait to show both them, and you the final look!
INSTALL
Since we also installed the v groove panels on the ceiling, we used this strong adhesive, as well as 2″ brad nails angled through the tongue. Jeff also made a small jig that gave us an easy grip, as well as a sturdy surface for the rubber mallet while securing the T&G (seen in highlights). Overall, it was a very easy install process.
We made our own custom baseboards using 1×6 MDF, and layered a thin plywood strip behind the baseboards, to create a reveal. Don’t forget you’ll also need outlet spacers and longer screws when installing these boards around outlets and light switches.
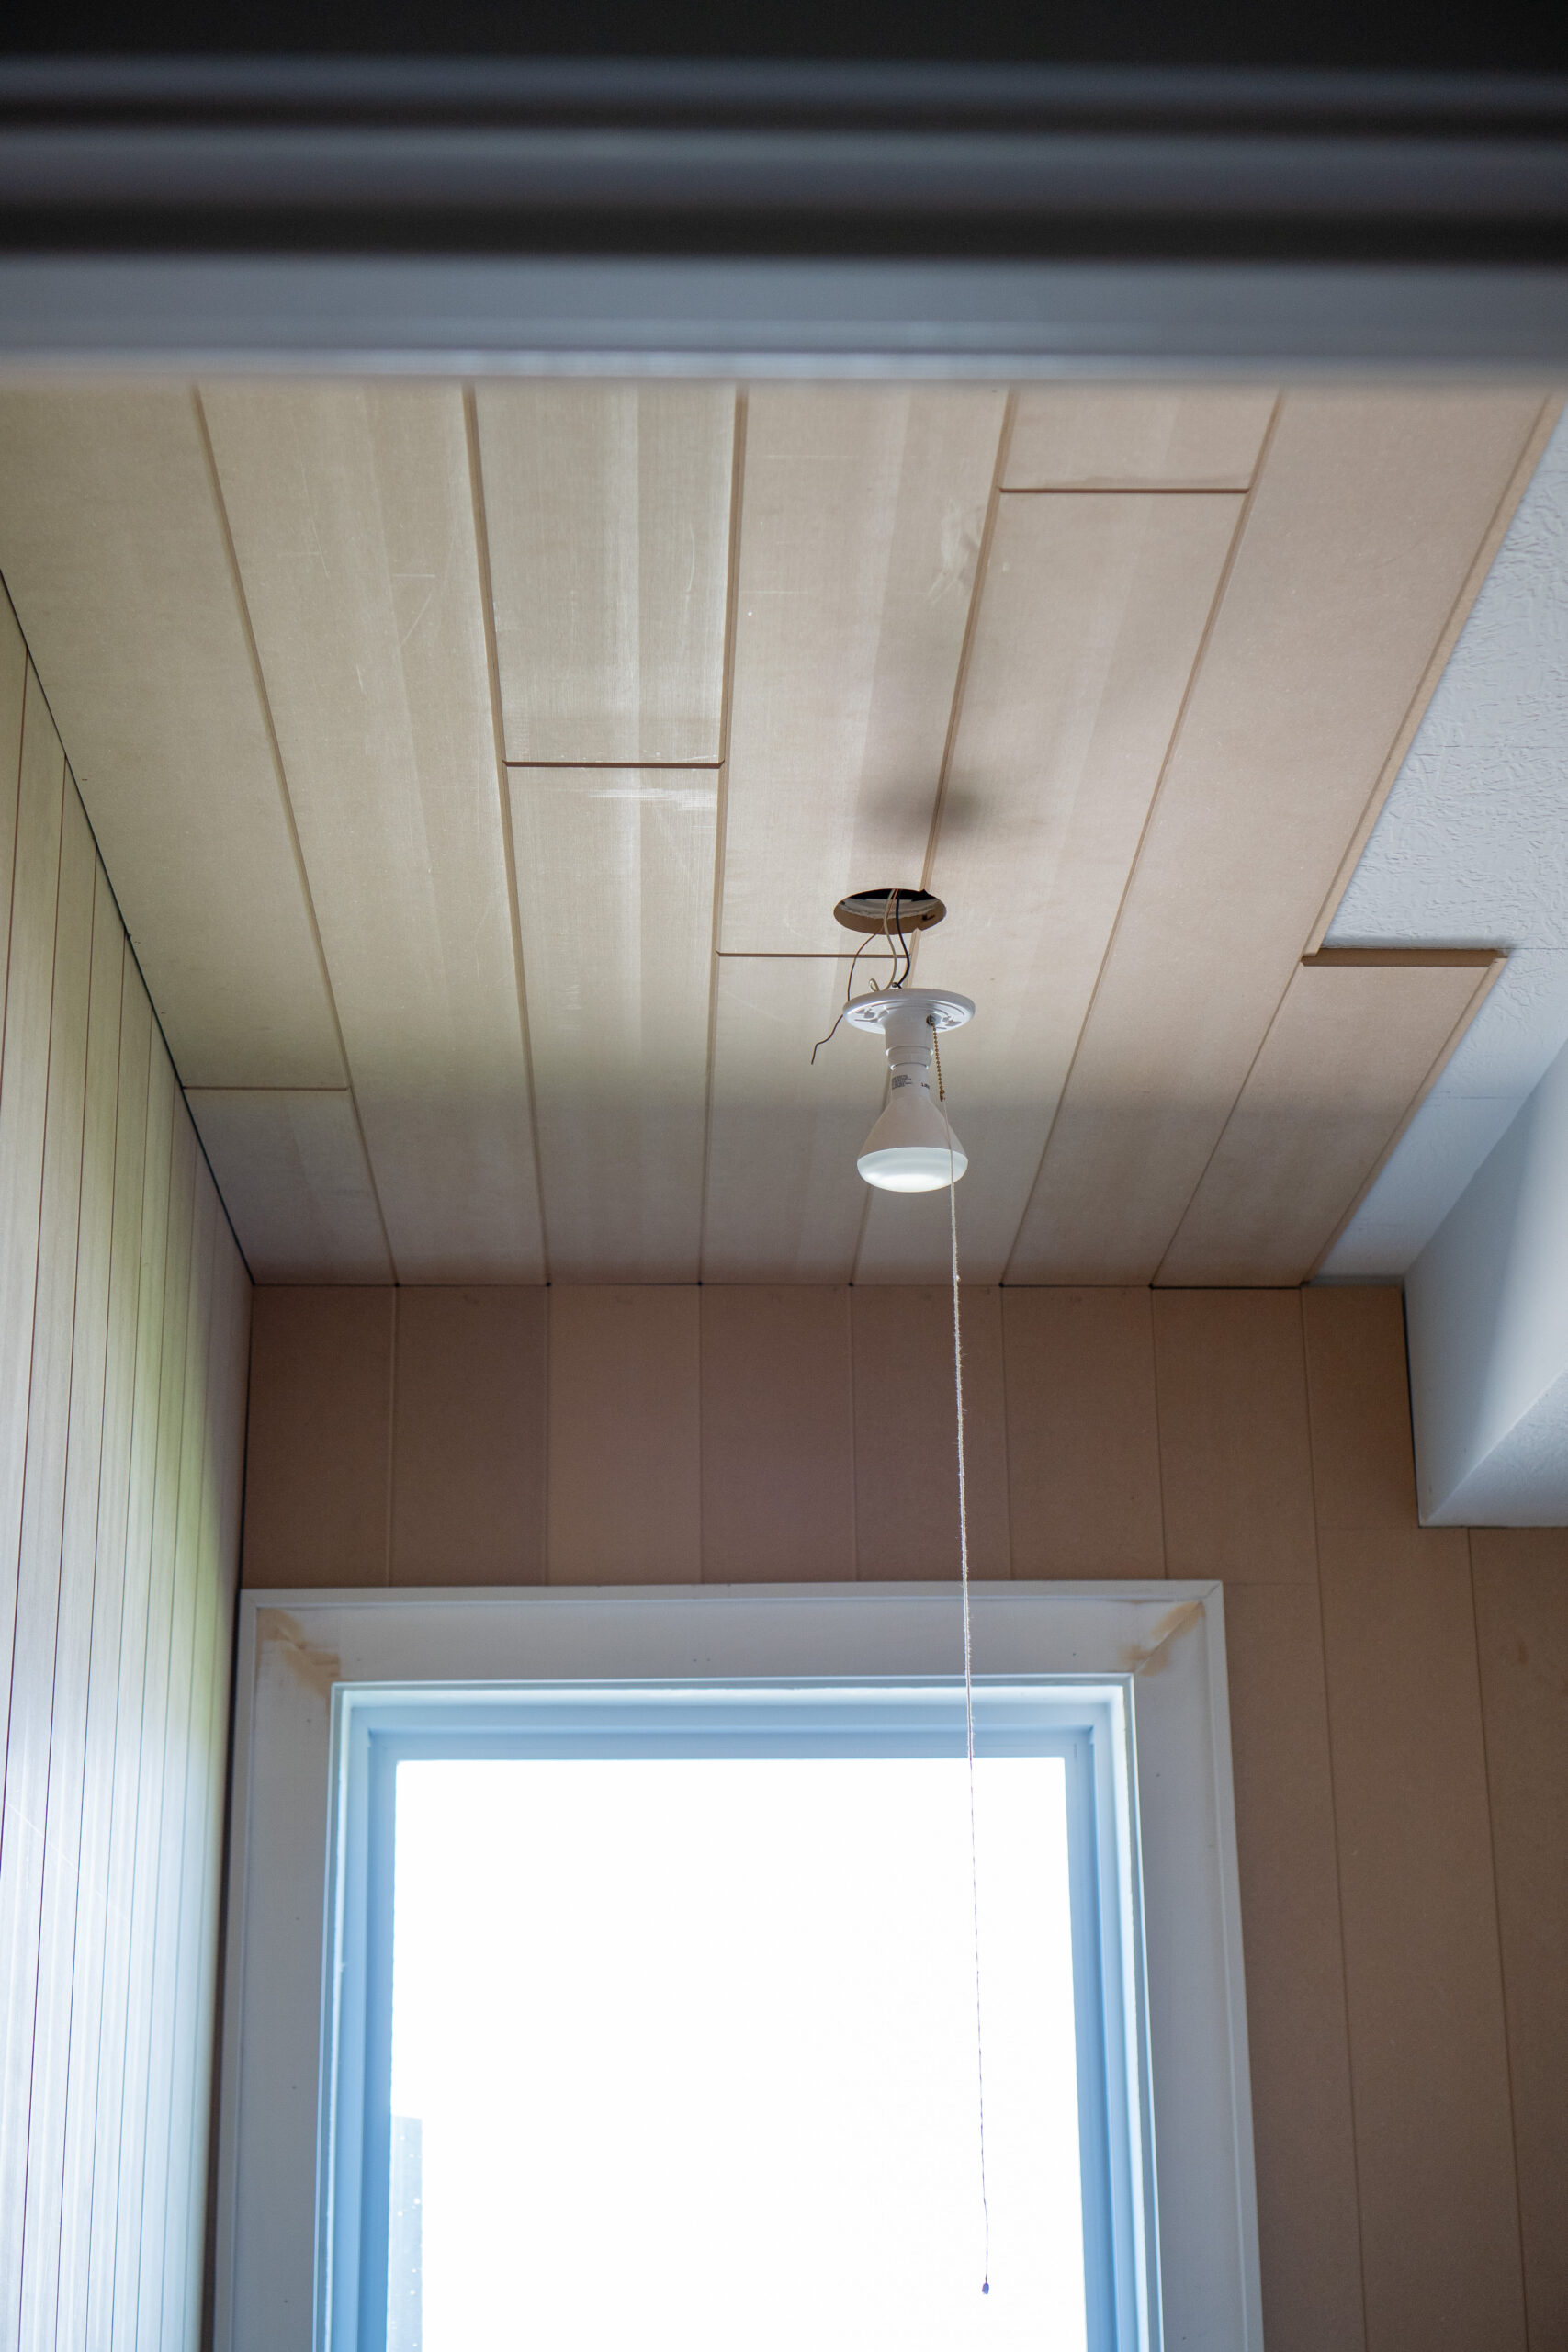
Lastly, we decided not to butt the ceiling boards against each other, and instead beveled the ends creating a more intentional v groove joint, instead. While this is certainly a personal design choice, it did allow us to skip the whole wood filling and sanding of the seams. Lazy? Or genius…you decide!
V GROOVE REVIEW
Overall, we’re very impressed with these MDF v groove boards. Compared to the MDF we’ve used in past projects, this product is high quality, durable, and the weight and thickness make them sturdy and substantial. They aren’t soft and easily damaged — in fact, we didn’t receive one damaged product in our entire order! The T&G joints fit perfectly snug, with no issues. While they are very sturdy boards, we were still able to slightly manipulate the pieces to fit our wonky walls or corner issues, without them breaking or snapping.
American Beadboard shipped our materials within a few days of ordering, but unfortunately there was an issue with our local delivery service. The delivery team arrived without the proper equipment to remove the heavy load off the truck, which meant Jeff, myself, and the delivery guy had to unload it, board by board. I share this because I think it’s important to double check with your local delivery service when making your delivery appointment, and confirm they understand the freight size and have a plan.
All in all, Jeff and I can confidently say we would absolutely recommend American Beadboard. Their customer service, availability of sample sizes, customizable options, quick shipping straight to your project, and overall experience was exceptional. Let’s not forget, you’re also supporting a small, family owned business in the U.S!
PUNCH LIST
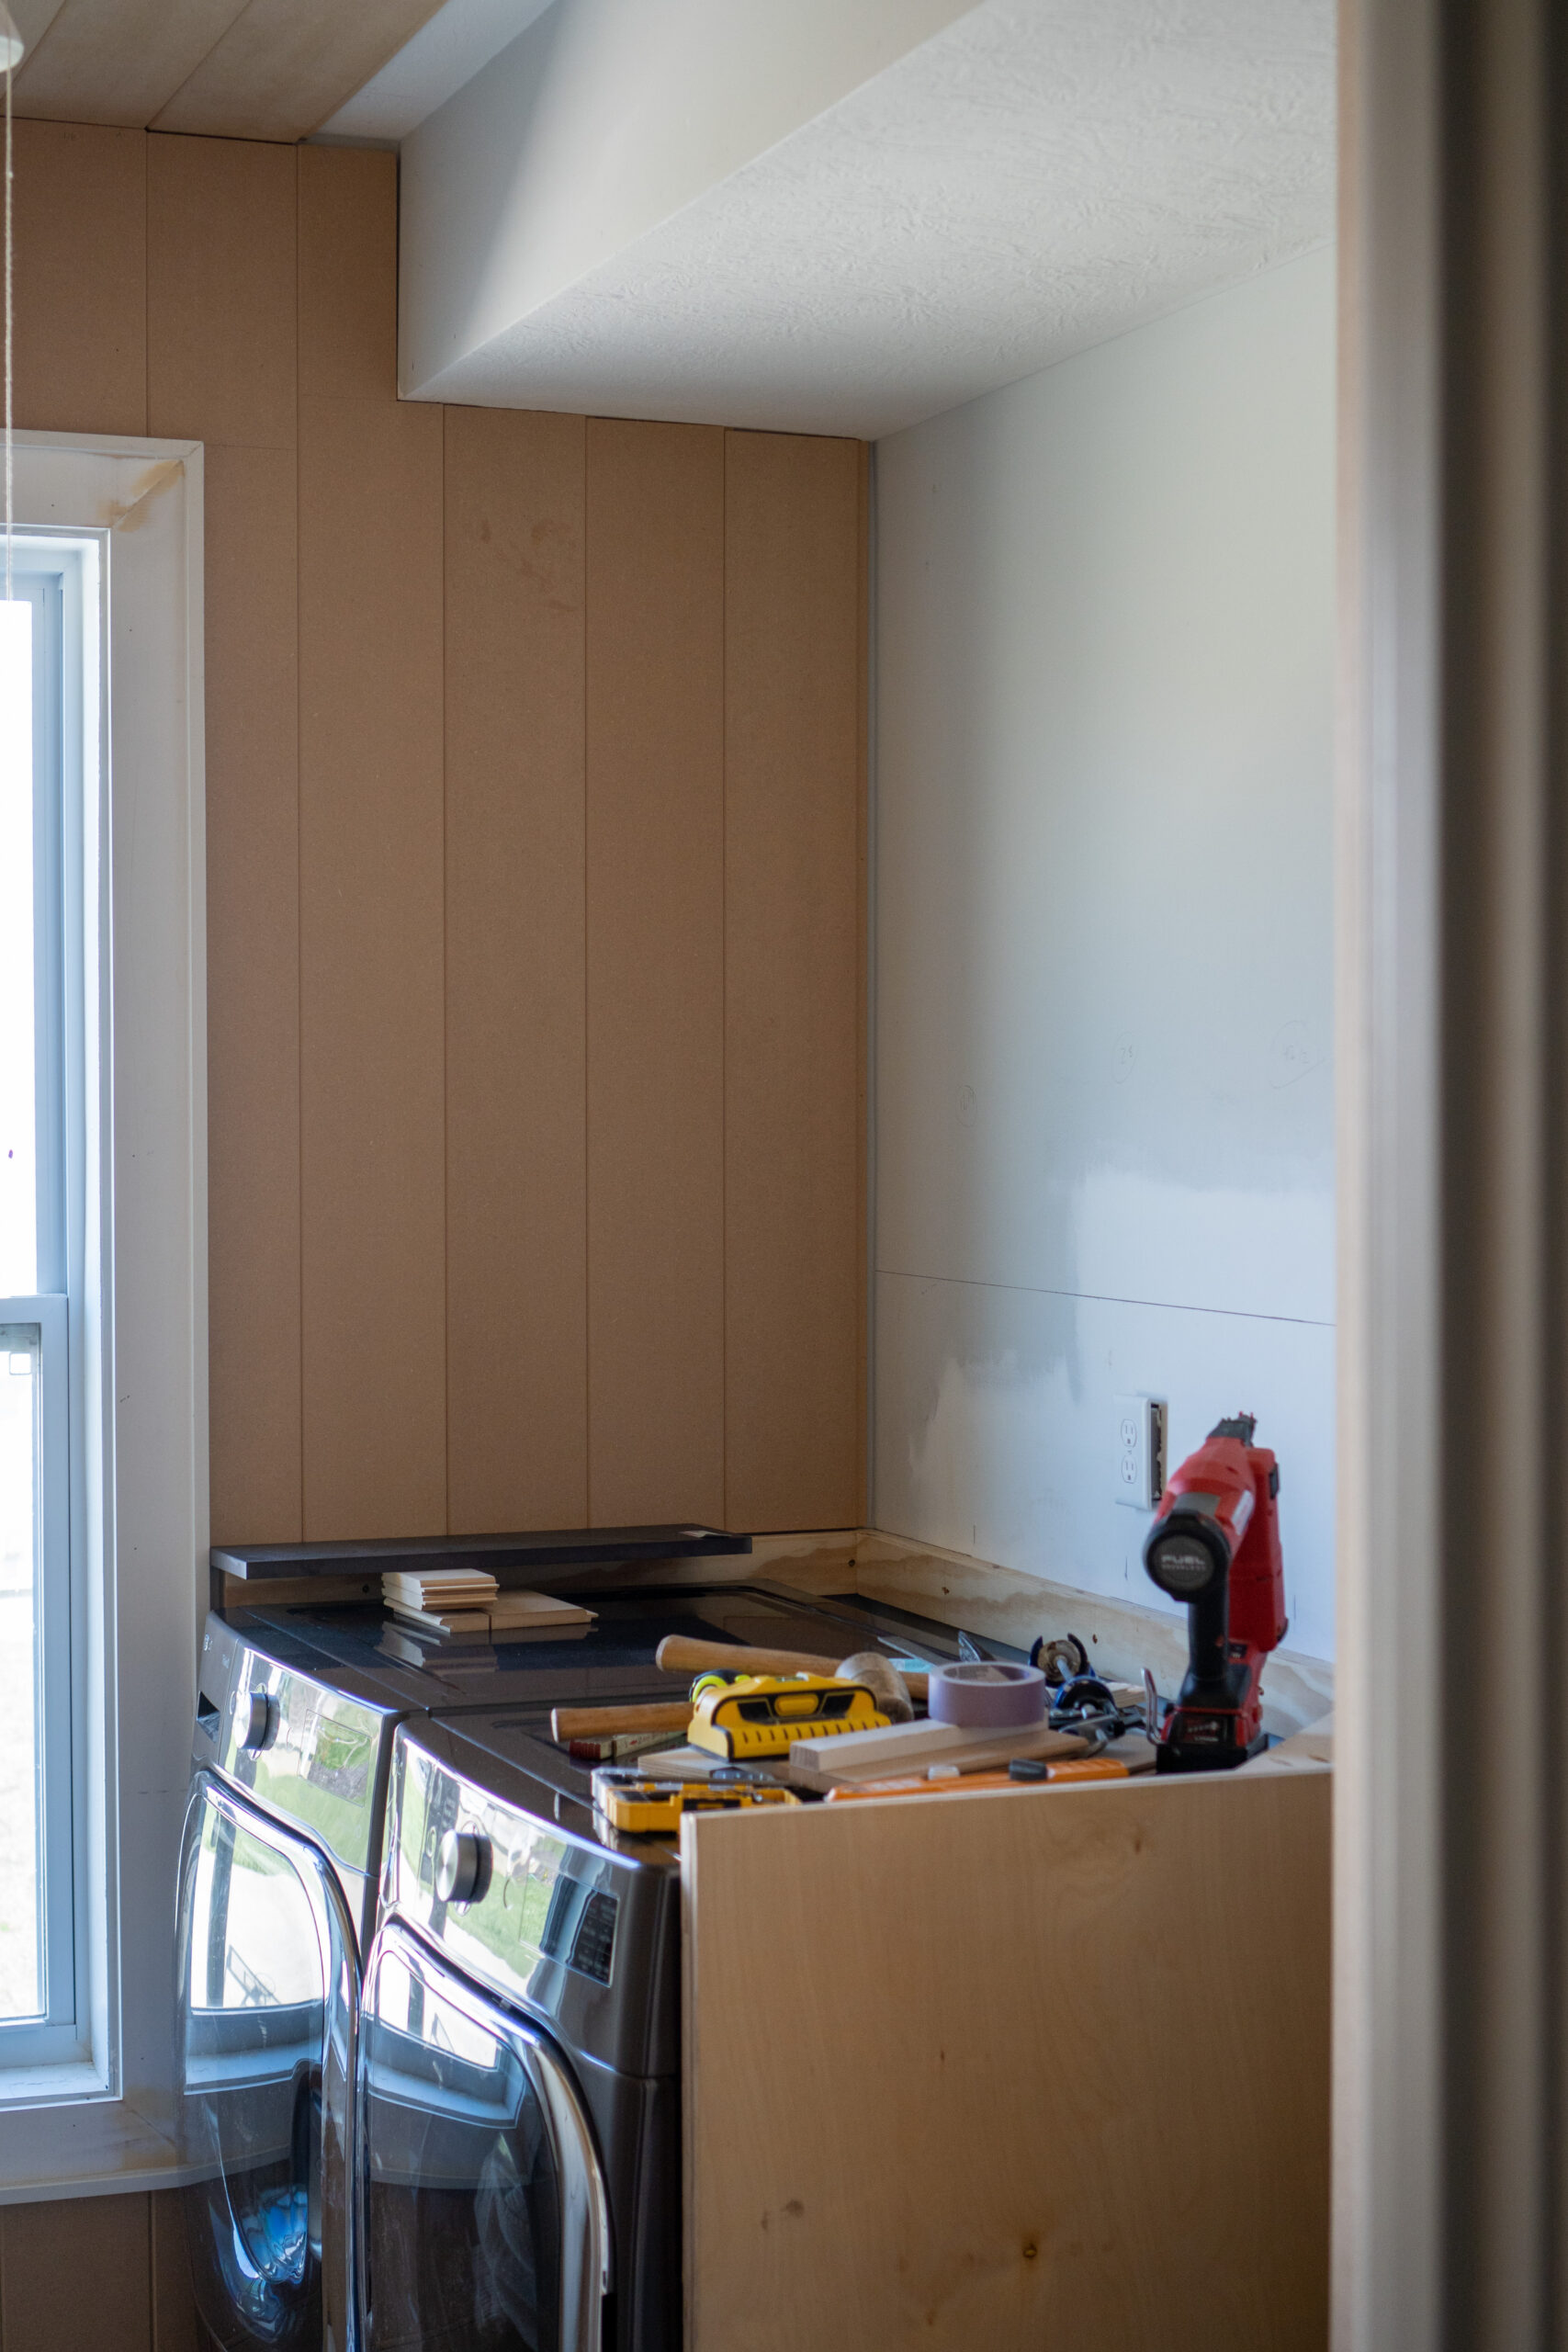
If you hang out with us in stories, then you’ve already seen why we were hung up on a 9ft outside corner miter. To miter this one piece, we had to take into account the unfortunate soffit angle, door trim, baseboard, and ceiling. With our table saw currently out of wack, we couldn’t achieve a clean miter, so instead, we begrudgingly decided to butt the outside corner. I don’t think this decision will haunt me too much…or at least that’s what I’m telling myself, in the name of progress!
Now that the challenging board is sorted out, we can finally finish off installing the last bit of our beautiful v groove boards. Here’s what we have next on the punch list:
- Build the small vanity
- Countertop installers come out to measure for the counter and back splash
- Confirm upper cabinet + clothing rod + shelf design (Phase 3?)
- Add outlet for vacuums in the closet
- Replace wire shelves with custom shelves in the closet
- Install crown moulding
- Prime the entire room/closet with our Graco Paint Sprayer
- PAINT
- Install lighting
- Install countertops
- Install sink, faucet, hardware, new glass door
- Soft finishes (roman shade, decor, etc)
- Dance Party, WE’RE FINALLY DONE!
Follow along with my Pinterest boards to see some of my laundry room inspo! I’d love your help with paint colors, so check back here for mood-boards, progress pics, and the final reveal!

This post contains affiliate links, which means I could make a small commission from sales, at no extra cost to you! Thank you for all your support, always!